SAW Part 1
July 13, 2012
The initial forays into wood work has made one thing absolutely crystal clear… i will sooner than later have to start cutting straight and square to be able to do any of the stuff i am dreaming of building someday.
Another thing made crystal clear is that now that i am back to corporate drone duty spending half my weekend planing to get square corners is not really a viable option anymore. On the flip side going back to my earning ways I can scrape enough to spend on what I need to bridge the gap.
So after struggling with an unreliable and almost unmentionable attempt at a diy table saw using my existing circular saw I finally decided to do the leg work required for a table saw. Thus began the great search for a small portable table saw in Bangalore. The search yielded a net result of 2 models -Makita MLT100 and Bosch GTS 10 out of a list of 2 available models (yeah, that’s all unless you want to import it blind based on reviews and photos with non-existent after sales support and warranty).
Checked out the Makita MLT 100 at the local distributor who was very helpful as far as showing the saw is concerned. As expected from the reviews it has a really crappy fence so Bosch it was going to be. However, I was absolutely adamant on being in the physical vicinity of the GTS 10 before ordering it.
Sri Varu Power Tools got us in touch with the right persons at Bosch which resulted in a visit to their spanking new power-tool training center in Adugodi (very cool!) and got to see, touch, feel and operate a GTS 10 (Awesome!!). Two weeks later I have a brand new Bosch 10 GTS (Freakkin’ Awesome!!)
And now some photos of the unpacking…
Big blue box

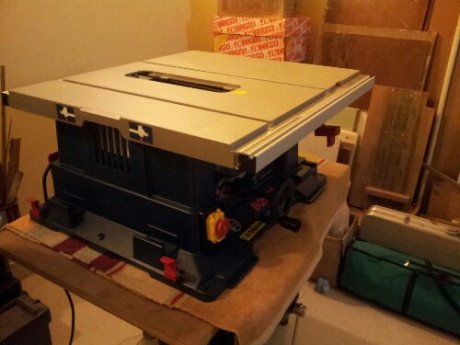
Out of the box and onto the table

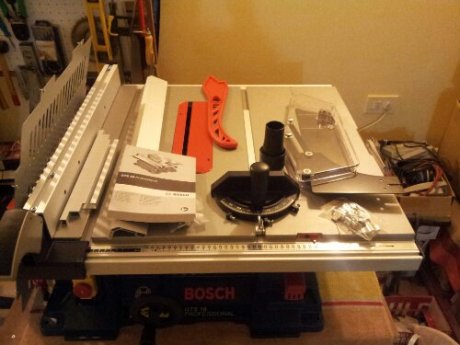
Fences and other accessories

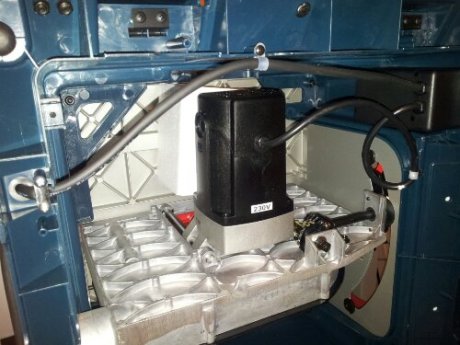
The blade height adjustment wheel refused to budge initially and i got worried. Turns out there is a big thermocol square wedged behind to keep the motor from moving during transport

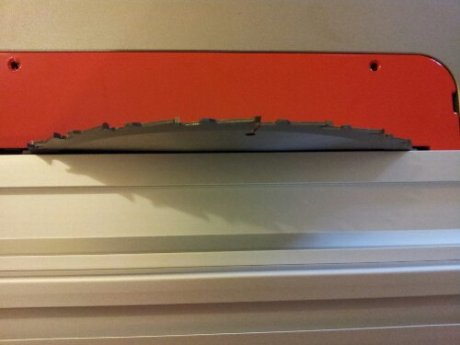
Error in the main rip fence. On locking it down the fence kept twisting out of true by a couple of degrees. See the difference in the gap between the blade and the fence on the left and right edges of the blade.

Needless to say that I was majorly disappointed. It turned out to be a small assembly error that I fixed later by dismantling the rip fence and reassembling it properly.
I have had this post sitting in drafts for more than 2 months… ever since I got this wonderful tool i have been ripping it(wood) up One of the completed projects is a stand with casters for the table saw that i will detail in future posts.
[…] built a crosscut sled to improve on the not so accurate miter fence of my table saw for repeated 90 degree cuts. The original aspiration was to build The Super Sled. Given that I had […]